Introduction
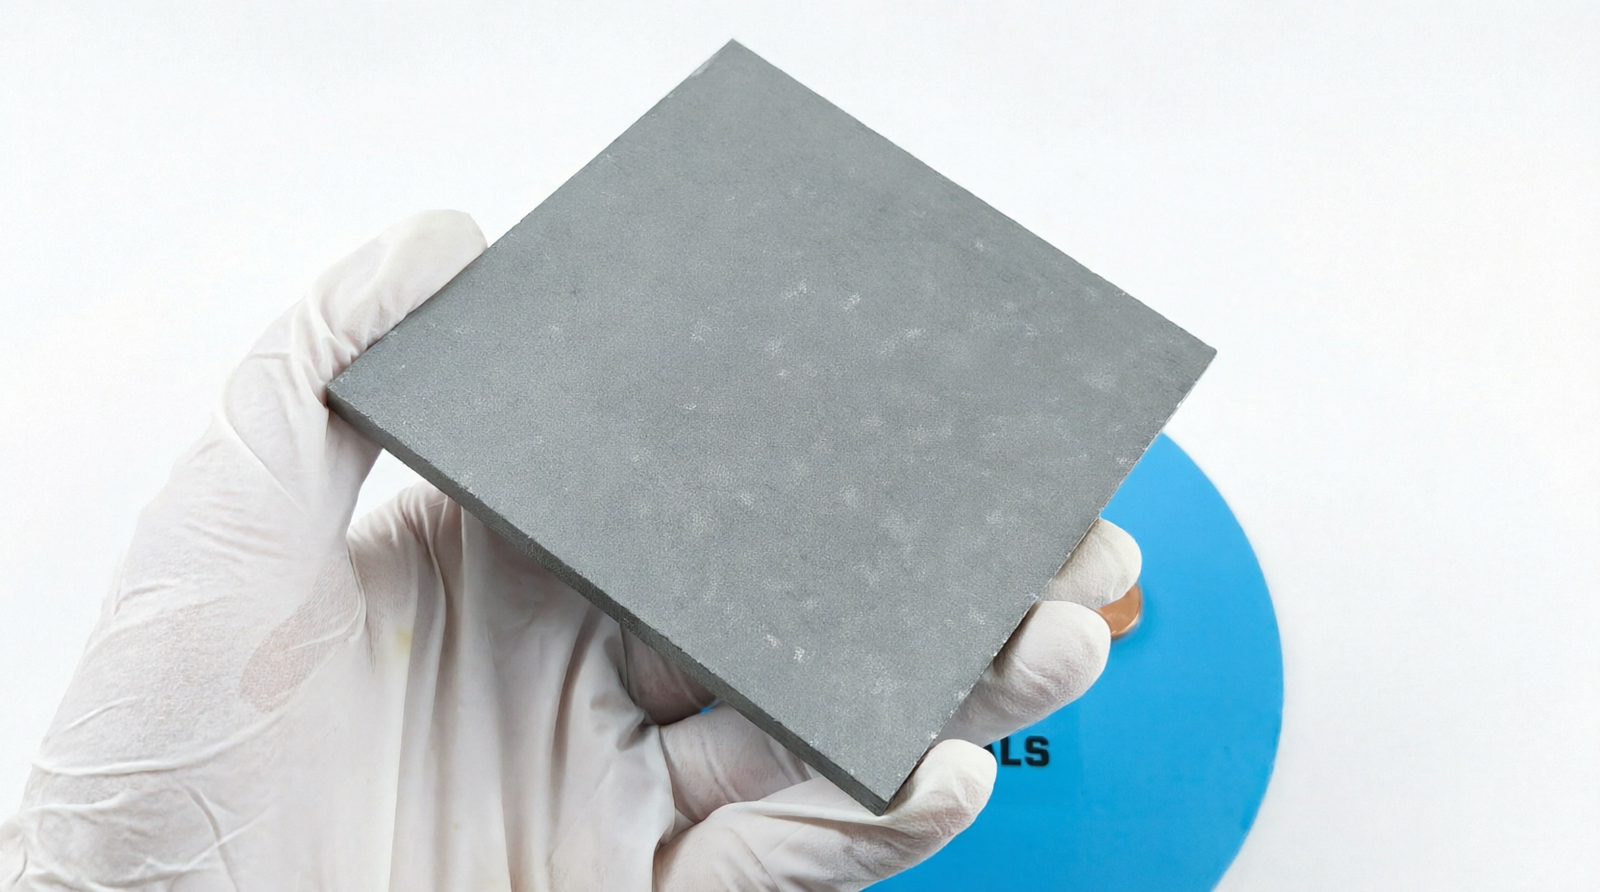
Sputtering targets are the heart of many thin-film deposition processes, including those used in semiconductor, photovoltaic, display, and optical coating industries. High-purity sputtering targets are critical for producing films with controlled composition and superior electronic, optical, and mechanical properties. The performance and reliability of sputtered films depend strongly on the quality of the target material. Thus, a rigorous evaluation of target quality is essential for process optimization, yield improvement, and cost reduction.
This article will comprehensively explore the key criteria and methods for evaluating high-purity sputtering targets, with a focus on impurity analysis, density measurement, and microstructural characterization. We will also touch on related factors such as sputtering yield and practical considerations for target replacement in industrial environments.
1. The Role of High-Purity Sputtering Targets in Thin Film Deposition
Sputtering is a physical vapor deposition (PVD) technique in which energetic ions bombard a solid target, ejecting atoms that then condense on a substrate to form a thin film. The properties of the deposited film are inextricably linked to those of the target material.
The increasing demand for complex, multi-component, and ultra-high-purity films in advanced device manufacturing has placed stringent requirements on target quality. Impurities, inadequate density, or suboptimal microstructure can lead to poor film adhesion, electrical defects, particle generation, and other issues that compromise device performance.
2. Key Quality Factors for Sputtering Targets
The main factors determining the quality of a sputtering target are:
- Purity (Impurity Content): The amount and types of contaminants present in the target.
- Density: The degree of compaction and elimination of porosity in the target.
- Microstructure: The grain size, orientation, and presence of secondary phases or defects.
- Sputtering Yield: The number of target atoms ejected per incident ion, often influenced by the above factors.
Other factors, such as mechanical integrity, thermal conductivity, and manufacturability, are also important but outside the primary scope of this article.
3. Impurity Analysis: The Foundation of High Purity
3.1 Why Purity Matters
Purity is perhaps the most critical parameter for sputtering targets, especially in semiconductor and optoelectronic applications. Even trace levels of certain impurities can have outsized effects on the electrical, optical, and structural properties of thin films. For example, metallic contaminants in dielectric targets can dramatically increase leakage current or pinhole density; oxygen or carbon impurities in metal targets can degrade conductivity or alter film stress.
Typical purity levels for high-end applications are 99.99% (4N) to 99.9999% (6N), with stringent limits not just on total impurities, but also on specific elemental contaminants.
3.2 Types of Impurities
- Metallic Impurities: Transition metals, alkali metals, and other elements not part of the desired target composition.
- Non-metallic Impurities: Oxygen, carbon, nitrogen, sulfur, and halogens, which can form undesirable compounds or inclusions.
- Radioactive Impurities: Even trace radionuclides (e.g., U, Th) may be unacceptable for sensitive applications.
3.3 Analytical Techniques for Impurity Detection
A variety of advanced techniques are used to quantify impurities in sputtering targets, each with its strengths and limitations:
- Glow Discharge Mass Spectrometry (GDMS):
- Ultra-trace elemental analysis (down to ppb levels).
- Simultaneous detection of a wide range of elements.
- Destructive, but highly representative for bulk analysis.
- Inductively Coupled Plasma Mass Spectrometry (ICP-MS):
- Excellent sensitivity for metals and some non-metals.
- Requires sample dissolution (can be challenging for some ceramics or refractory metals).
- Secondary Ion Mass Spectrometry (SIMS):
- Invaluable for surface and near-surface impurity profiling.
- Can detect light elements (H, C, N, O).
- Carrier Gas Hot Extraction (CGHE):
- Specialized for measuring O, N, H content.
- Widely used for metals and alloys.
- LECO Combustion Analysis:
- Quantifies C, S, O, N by measuring gases released upon combustion.
- X-ray Fluorescence (XRF):
- Rapid, non-destructive, but less sensitive to trace impurities.
- Useful for routine compositional verification.
3.4 Interpreting Analytical Results
Analytical data are typically reported as ppmw (parts per million by weight) or ppbw (parts per billion by weight) for each element. Users should pay particular attention to:
- Critical Impurities: Elements known to have detrimental effects on the desired film properties. For example, alkali metals in semiconductor targets, or iron in optical coatings.
- Homogeneity: Impurity levels should be uniform throughout the target volume, not just at the surface.
- Specification Compliance: Ensure the impurity profile meets or exceeds the application’s requirements.
3.5 Impurity Control During Target Manufacturing
Achieving ultra-high purity requires strict control at every stage:
- Raw Material Selection: Use of high-purity feedstock, often refined by zone melting, vacuum distillation, or chemical purification.
- Process Contamination: Avoidance of contamination during melting, casting, powder processing, and handling.
- Atmosphere Control: Inert or vacuum processing to minimize oxidation or nitrogen uptake.
- Packaging: Cleanroom packaging in inert gas or vacuum-sealed containers.
4. Density: Compaction and Porosity in Sputtering Targets
4.1 Importance of Target Density
Density is an indicator of how well the target material has been consolidated, whether by casting, hot pressing, hot isostatic pressing (HIP), or other means. High density is critical for several reasons:
- Minimized Porosity: Reduces the risk of gas entrapment, outgassing, and particle generation during sputtering.
- Uniform Erosion: Porous regions sputter at different rates, leading to uneven target wear and film thickness variations.
- Thermal Conductivity: Dense targets dissipate heat more effectively, reducing the risk of cracking and local overheating.
- Mechanical Strength: Essential for large-diameter or thin targets subject to mechanical stress.
4.2 Methods for Density Measurement
Density is typically expressed as a percentage of the theoretical (or ideal) density for the material. The most common methods for measuring density in sputtering targets are:
- Archimedes’ Principle (Buoyancy Method):
- Simple, widely used for metals and ceramics.
- Sample is weighed in air and in an inert liquid (often water or ethanol); density is calculated from the difference.
- Accuracy depends on surface finish and complete wetting of the sample.
- Helium Pycnometry:
- Measures true volume by helium displacement, insensitive to surface roughness.
- Very accurate for powders and small samples.
- X-ray Computed Tomography (CT):
- Non-destructive 3D imaging of internal porosity.
- High-end method for research or quality assurance.
- Ultrasonic Testing:
- Sound velocity correlates with density and elastic modulus.
- Useful for detecting large pores or cracks.
4.3 Density Specifications and Impact
High-end targets typically require densities of ≥98% of theoretical. For some applications (e.g., magnetron sputtering of ceramics), >99.5% may be necessary to prevent arcing, particle shedding, or localized heating.
Porosity not only causes process problems but can also act as a sink for impurities or a nucleation site for secondary phases.
4.4 Achieving High Density in Manufacturing
- Hot Isostatic Pressing (HIP): Preferred for oxides, nitrides, and refractory metals; applies uniform pressure and heat to eliminate internal porosity.
- Vacuum Melting and Casting: Used for many metals; careful control of cooling rates can minimize shrinkage porosity.
- Powder Metallurgy: For complex alloys or composite targets, powder processing with sintering and/or HIP can optimize density.
Proper process selection and parameter optimization are essential to ensure uniform, high-density targets.
5. Microstructure: Grain Size, Morphology, and Defects
5.1 Microstructural Features and Their Significance
The microstructure of a sputtering target—its grain size, grain boundaries, phase distribution, and presence of inclusions or defects—has a direct influence on:
- Sputtering Rate and Uniformity: Grain boundaries can affect sputtering yield and erosion patterns.
- Film Quality: Large or inhomogeneous grains may lead to non-uniform film composition or particle generation.
- Mechanical Stability: Fine, uniform grains enhance both mechanical strength and thermal shock resistance.
- Electrical and Magnetic Properties: Especially important for targets used in magnetic or conductive films.
5.2 Microstructural Characterization Techniques
A range of advanced microscopy and analytical methods are applied to analyze target microstructure:
- Optical Microscopy:
- Useful for general grain size measurement and detection of macro-defects.
- Sample sectioned, polished, and etched to reveal structure.
- Scanning Electron Microscopy (SEM):
- High-resolution imaging of surface and cross-sectional microstructure.
- Combined with energy-dispersive X-ray spectroscopy (EDS) for local compositional analysis.
- Electron Backscatter Diffraction (EBSD):
- Maps grain orientation and size distribution; reveals texture.
- Transmission Electron Microscopy (TEM):
- Reveals nanoscale features, dislocations, and secondary phases.
- X-ray Diffraction (XRD):
- Determines phase purity, crystallographic orientation, and average grain size (via peak broadening analysis).
5.3 Interpreting Microstructural Data
Key microstructural metrics include:
- Average Grain Size: Fine grains (1–10 µm) are generally preferred for uniform sputtering, but optimal size varies by application.
- Grain Size Distribution: Uniformity is crucial; bi-modal or inhomogeneous distributions can cause local erosion anomalies.
- Texture: Preferred (anisotropic) grain orientation can influence sputtering rate and film growth.
- Second Phases/Inclusions: Undesirable phases or inclusions (e.g., oxides in metal targets) can generate particles or arcing.
- Pores and Cracks: Should be minimized or eliminated for high reliability.
5.4 Control of Microstructure During Manufacturing
- Melt Processing: Cooling rates, solidification conditions, and post-casting heat treatments can refine grain size.
- Mechanical Working: Rolling, forging, or extrusion can break up large grains and control texture.
- Powder Processing: Sintering temperature and time, powder size, and HIP parameters all affect final microstructure.
Manufacturers optimize these variables to produce targets with the desired microstructural attributes for specific sputtering processes.
6. Sputtering Yield and Process Considerations
6.1 Sputtering Yield: What Is It and Why Does It Matter?
Sputtering yield is defined as the number of atoms ejected from the target per incident ion. It is a complex function of target material, ion energy, angle of incidence, and target surface condition. High-purity, high-density, and uniform microstructure all contribute to consistent, predictable sputtering yield.
Inconsistent or low yield can cause:
- Reduced deposition rates.
- Non-uniform film thickness across the substrate.
- Increased process variability.
6.2 Process Variables Affecting Target Performance
While intrinsic target quality is paramount, process conditions must also be optimized:
- Power Density: Excessive power can cause local overheating, warping, or even melting of low-density targets.
- Gas Pressure: Impacts mean free path of sputtered atoms and energy of bombarding ions.
- Magnetic Field Configuration: Especially in magnetron sputtering, affects erosion profile and uniformity.
A high-quality target enables robust process windows, but process parameters must be tuned to avoid damaging the target or compromising film quality.
7. Practical Considerations: Target Lifetime and Replacement
7.1 Monitoring Target Erosion
During sputtering, the target is gradually consumed in a characteristic “race track” pattern. Over time, the following issues can arise:
- Excessive erosion leading to reduced target thickness and increased risk of breakage.
- Formation of erosion grooves that can trap gas or debris, generating particles.
- Changes in erosion profile that impact film uniformity.
Operators typically monitor:
- Depth of the Race Track: Measured using profilometers or calipers at regular intervals.
- Total Energy Delivered: Accumulated kilowatt-hours (kWh) recorded by the power supply; allows prediction of target end-of-life based on historical data.
7.2 Criteria for Target Replacement
A target should be replaced when:
- The eroded area approaches a predefined minimum thickness (risking breakage or arcing).
- Accumulated energy or deposition time exceeds manufacturer’s recommended limits.
- Particle generation or arcing incidents begin to increase, indicating local defects or inclusions have been exposed.
- Film quality metrics (thickness uniformity, composition, defectivity) degrade beyond acceptable limits.
7.3 Strategies to Extend Target Life
- Use of high-density, fine-grained targets resists cracking and uneven erosion.
- Optimizing process power and pressure settings to minimize local overheating.
- Regular cleaning and preventive maintenance of the sputtering system.
- Employing “spent” targets in less critical applications to maximize usage.
8. Case Studies: Impacts of Target Quality on Film Performance
8.1 Semiconductor Metallization
For aluminum or copper interconnects in IC fabrication, even sub-ppm metallic impurities (e.g., Fe, Ni) can lead to junction leakage or electromigration failures. High-density targets minimize particle generation, while fine-grained microstructures enable smoother film growth.
8.2 Transparent Conductive Oxides (TCOs)
Indium tin oxide (ITO) targets require both high purity and ultra-high density (>99.9%) to avoid arcing and ensure uniform electrical properties in display applications. Microstructural control ensures consistent optical transparency and resistivity.
8.3 Magnetic Thin Films
Targets for magnetic storage or sensor applications (e.g., CoPt, FeNi alloys) demand precise control of grain orientation (texture) to achieve desired anisotropy and coercivity in the deposited films.
9. Quality Assurance and Supplier Qualification
9.1 Supplier Audits and Certification
Leading manufacturers adhere to rigorous quality systems (ISO 9001, ISO 14001) and often provide certificates of analysis (CoA) for each target batch. Users should:
- Review CoA for impurity levels, density, and microstructural data.
- Request representative test samples for independent analysis.
- Audit supplier manufacturing and quality control processes.
9.2 Incoming Inspection and Lot Traceability
Implementing robust incoming inspection protocols helps catch defects early:
- Sampling for analytical verification of purity and density.
- Random microstructural examination.
- Barcoding and traceability for rapid response to field failures.
10. Summary and Best Practices
10.1 Key Takeaways
- Sputtering target quality—purity, density, and microstructure—directly determines thin film performance and process yield.
- Advanced analytical techniques are required to rigorously quantify and control impurity content.
- High density and optimized microstructure minimize process defects and extend target life.
- Routine monitoring of target erosion and process parameters is essential for timely replacement and preventive maintenance.
10.2 Recommendations for Users
- Specify critical impurity limits and density requirements to suppliers.
- Request detailed microstructural data for each batch.
- Implement regular quality audits and incoming inspections.
- Closely monitor target usage and erosion in production for optimal replacement timing.
10.3 Future Directions
As device architectures continue to shrink and performance demands intensify, the bar for sputtering target quality will only rise. Advances in raw material purification, powder processing, and non-destructive evaluation will play a key role in meeting these challenges.
References
- Handbook of Sputter Deposition Technology, by K. Wasa et al.
- Thin Film Processes, by J.L. Vossen and W. Kern.
- Materials Science of Thin Films, by Milton Ohring.
- ASTM F2164-13: Standard Practice for Sputtering Target Testing.
- Recent technical papers and application notes from leading sputtering target manufacturers (e.g., Materion, Praxair, Plansee).


